
Holler for Collards
Social media is rife with manufactured celebrations, and most of the time we tune out the posts celebrating National French Fry Day or National Sleep Day.
But we couldn’t resist “Collard Week,” which took over our Instagram feed last week with posts, webinars, recipes, and content from Slow Food USA, Southern Exposure Seed Exchange, and The Heirloom Collard Project (all organizations that you should check out).
The publicity campaign on behalf of these iconic Southern greens was well timed; we were in the midst of an abundant harvest of our three main varieties - Top Bunch, Champion, and Flash - and the social media call to action was a good reminder to pay some homage to this humble, but truly valuable crop. So here you have it - a Burkett Farm deep dive on collards.
What is a collard?
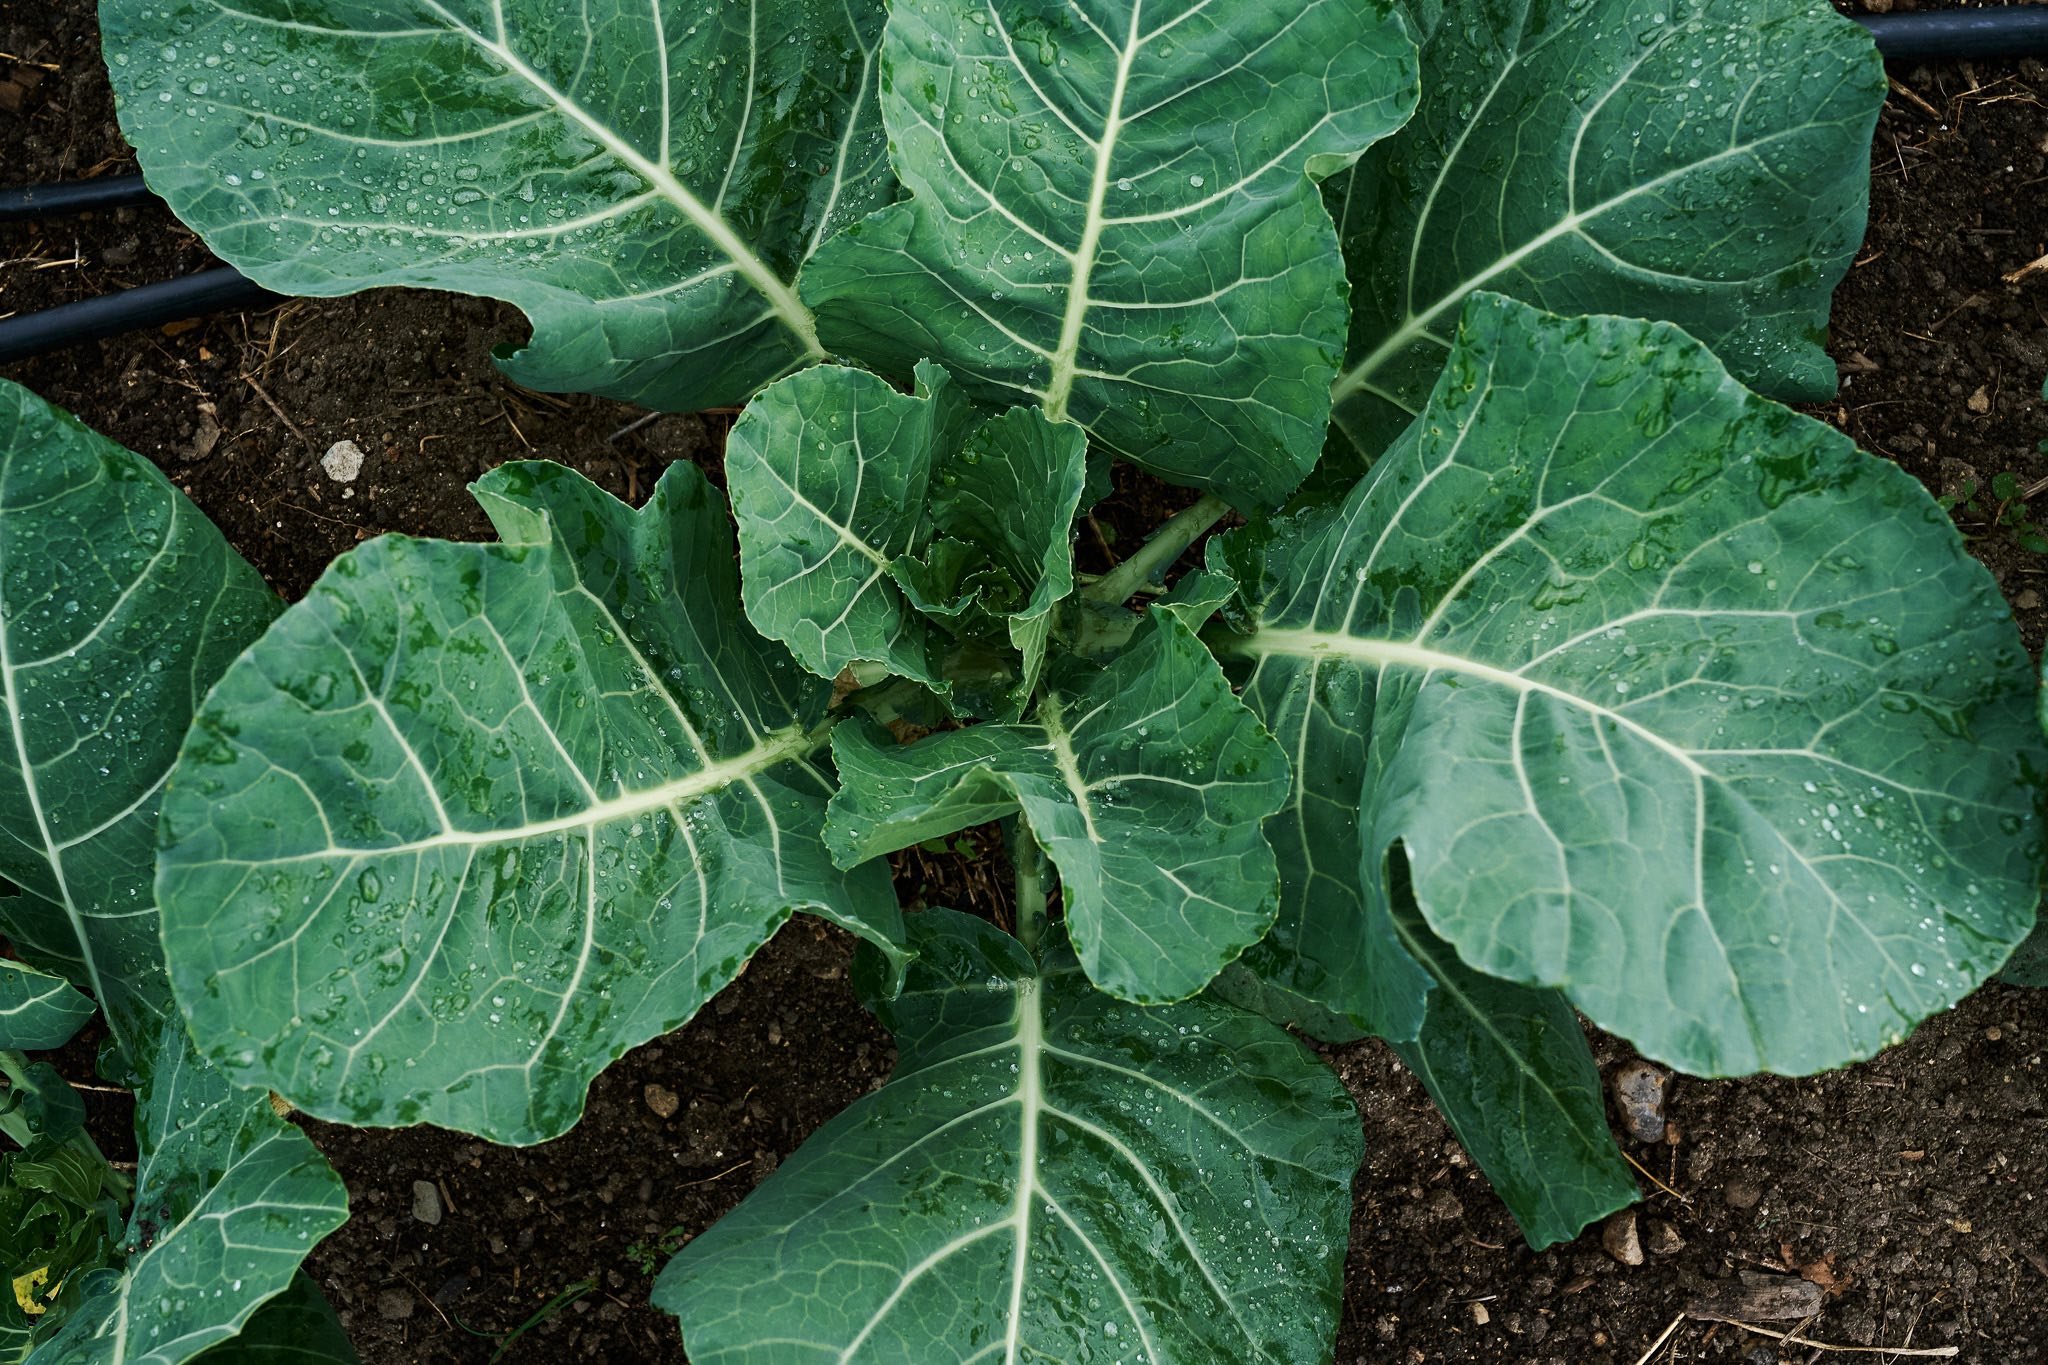
Part of the brassica family, collards are relatives of kale, cabbage, and mustard greens. Most of the varieties form wide, flappy leaves that range from yellowish green to dark emerald in color, though there are collard varieties that form heads like a cabbage, or have frilly leaves like mustards. Collards are thought to have originated in Eurasia, but they have had a stronghold in the Southern United States for hundreds of years.
Some Hard Earned Collard-Growing Tips
People often are surprised to learn that we grow vegetables year round at the farm, and collards are one of the most reliable season-extenders we have. They are outright hard to kill in our typical NC winters; in fact, frost exposure makes them sweeter. Here are some of Jamie’s tips for growing collards through the fall and winter.
Varieties:
Vates, Champion, and Flash are our tried and true varieties; we source seeds from Johnny’s Select Seeds for these.
Scheduling:
We try to seed our collard trays at the very beginning of August. This gives us a buffer of time, if there are any issues with germination, to reseed as necessary. Some farms start seed in July, but this requires more intensive measures to protect plants from the heat of August - usually covering with shade cloth and spraying with "sunscreen" (kaolin clay). September can be brutally hot enough for a four-to-five week old seedling. Typically, we transplant seedlings into our beds around 4-6 weeks.
We begin harvesting in early October, and have consistent yields until production slows down in December/January. We see one final bump in February, and then typically pull plants in March to make room for new crops, or leave the plants to bolt; stems of yellow blossoms are bee food for months.
Cold Protections:
While collards stay comfortable in the cold, there are a few things we do to stave off the lowest of temperatures. For nights below 25°, we cover with heavy row cover. We use Agribon 50, which insulates at 5-8° warmer temperatures. These block out 50% of light, though, so don’t forget to pull them off during the warmer daytime hours for proper growth.
Disease:
Aphids and the cabbage moth larvae are our main pests. A few times in the season we spray insecticidal soap for aphids and alternate bT (bacillus thuringiensis) and spinosad for the caterpillars. Once they get a stronghold, they tend to be permanent guests, so we do our best to stay on top of it - we scour plants each week, and we never plant seedlings with live aphids.
Collard Preparation Tips:
It’s difficult to narrow this down to a concise blurb, as collards can be quite versatile in the kitchen (and have an incredibly high nutrient density).
Cutting collards:
Tear the leaves from the stem (also called the rib) - do not throw these ribs away! Cut the ribs into half-inch pieces and set aside (these will take longer to cook than the leaves).
For ribbons, stack the leaves on top of each other, then roll into a cylinder, and slice across the cylinder in ½ to ¾ inch slices.
For tiles, stack the leaves on top of each other; slice into 2 inch rows, then turn 90° and slice into 2 inch squares.
Here’s a basic, vegan process for vinegar-braised collards, which serves 4 as a side:
2 pounds collards; leaves and ribs separated, leaves cut into ribbons and ribs chopped
2 tablespoons olive oil
1 white or yellow onion, minced
Kosher salt
¼ cup vinegar (apple cider, champagne, or rice wine vinegar would all be good here)
In a Dutch oven or large, high-sided pan set over medium heat, add the olive oil. When it shimmers, add the onion and the chopped collard ribs. Cook, stirring, until the onions are translucent, 5-7 minutes. Add the collard leaves and cook, stirring continuously, until slightly wilted. Stir in 1 cup water and 1 tablespoon kosher salt. Cover, and let stew for about 20 minutes, stirring occasionally. Add the vinegar (and more water if the pan has dried out) and stew for another 10-15 minutes. The collards should have cooked down substantially, and be a darker army-green color. Taste and adjust for seasoning by adding more vinegar or salt. Serve warm.
Collard Context in NC and the Southeast:
Want to know more about this crop, considered an iconic “Southern” food? Here are a few collard resources to guide your study:
Wood, Daniel. “A community of seed savers has a recipe to revive rare varieties of collard greens.” NPR.com
“Meet the Collard Sandwich, an Iconic Lumbee Tribe Meal.” SlowFoodUSA.com
Harris, Jessica B. “Greens, I Love You, Greens.” SouthernFoodwaysAlliance.org